03. Getting Set up
L3 02 Code Walkthrough
Getting Set up
Get the code
In this step, you download the code for the entire lesson and then run a simple example app.
$ git clone https://github.com/udacity/android-kotlin-animation-property-animation
Alternatively, you can download the repository as a Zip file: https://github.com/udacity/android-kotlin-animation-property-animationUnzip the code
Open the project Android Studio version 3.5 or newer.
Run the code
Build and run the application, which looks like this:
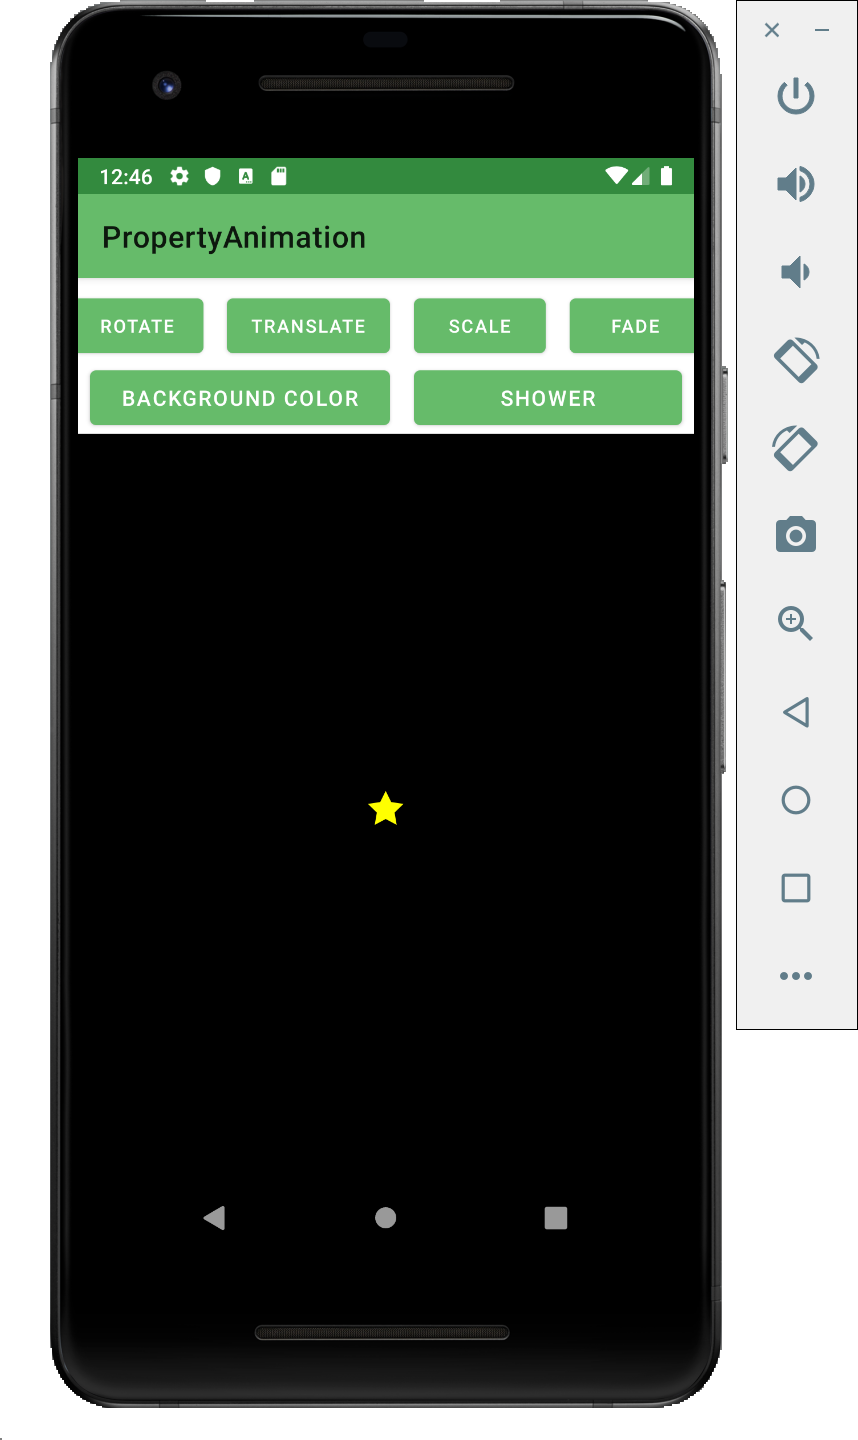
Familiarize yourself with the UI code
Because this lab focuses on animation techniques, you are not going to build the UI that the application uses. But you should know what’s been built for you.
Step 1: Explore the UI layout file
- In your Android Studio project, navigate to
activity_main.xml. Find the top-level container which is aConstraintLayout. Inside that container, notice six buttons; you will connect these buttons to click listeners to launch animations. - Find the FrameLayout, a ViewGroup container which contains a single ImageView. You can think of this
FrameLayoutas the blank background (the night sky, if you will) that you will paint your animations onto, usingImageViews. TheImageViewexists to hold the star graphic used to demonstrate most of the animations in this lesson. - Now click on each of the buttons: notice how every one of them does… absolutely nothing.
Step 2: Get to know the activity code
- Switch to
MainActivity.ktin the editor. You can see that some of the code has been written for you already. Specifically, we’ve createdlateinitvariables to hold the views that we will refer to in the code:
lateinit var star: ImageView
lateinit var rotateButton: Button
lateinit var translateButton: Button
lateinit var scaleButton: Button
lateinit var fadeButton: Button
lateinit var colorizeButton: Button
lateinit var showerButton: Button- You can also see that these variables are initialized to appropriate values in
onCreate():
star = findViewById(R.id.star)
rotateButton = findViewById<Button>(R.id.rotateButton)
translateButton = findViewById<Button>(R.id.translateButton)
scaleButton = findViewById<Button>(R.id.scaleButton)
fadeButton = findViewById<Button>(R.id.fadeButton)
colorizeButton = findViewById<Button>(R.id.colorizeButton)
showerButton = findViewById<Button>(R.id.showerButton)- Next, you’ll see five methods that will be called by listeners to perform the functionality for the various buttons (
rotater(),translater(), etc.). And you’ll see that those functions are empty; this is where you will write your code in the following steps. - Finally, you can see the rest of the code in
onCreate(), in which we set uponClicklisteners for each of the buttons, calling into the (currently) empty functions.
rotate.setOnClickListener {
    rotater()
}

translate.setOnClickListener {
    translater()
}

scale.setOnClickListener {
    scaler()
}

fade.setOnClickListener {
    fader()
}

bgColor.setOnClickListener {
    colorizer()
}

shower.setOnClickListener {
    shower()
}